By the end of my teaching career, I felt like I was hanging on to my chalkboard by the tips of my fingers. Every year, my principal tried to persuade me to trade it in for a brand new, shiny whiteboard. And every year, I politely declined, insisting I needed my chalkboard. Perhaps you think I’m just nostalgic about chalk dust. Actually, not at all! But using chalk on a chalkboard does produce a drag which provides sensory input. Compare this to the smoothness of a marker on a whiteboard. My chalkboard was an essential tool for teaching letters and sounds using a multi-sensory approach.
Some children learn letters and their sounds easily with exposure to alphabet books, environmental print, and sound play. Other children require explicit instruction. This post is for teachers working with children who benefit from explicit instruction.
Early in my teaching career, I was introduced to Orton-Gillingham methods through my cooperating teacher, a mentor teacher, and professional development. Over time, I drew from a number of resources. Although the specifics varied across the years, a mainstay in my instructional approach was the multi-sensory introduction of letters and sounds. This approach links the name of the letter, the sound the letter stands for, and its formation.
The Sequence of Letters and Sounds
The University of Oregon’s Big Ideas in Reading lists an acceptable sequence for introducing letters. This sequence is geared towards introducing reading and spelling after a handful of letters are taught. They also provide criteria for evaluating a given sequence, which is helpful for developing your own or determining the suitability of a required sequence. For children primarily needing handwriting instruction, use a sequence based on groups of handwriting strokes.
Letter/ Sound Picture Cards
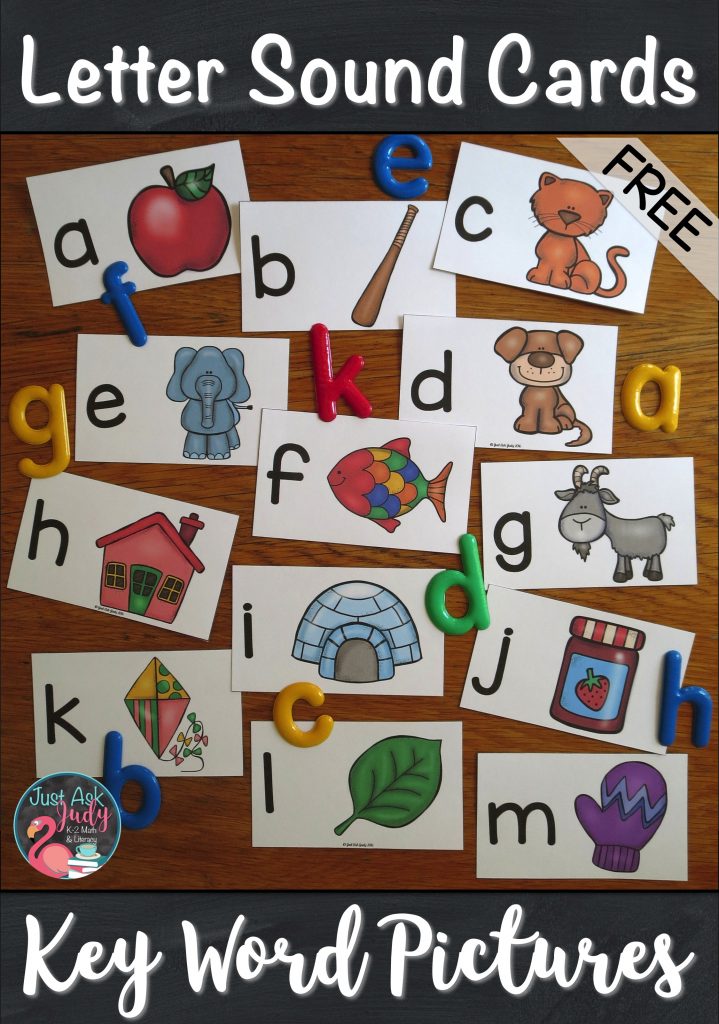
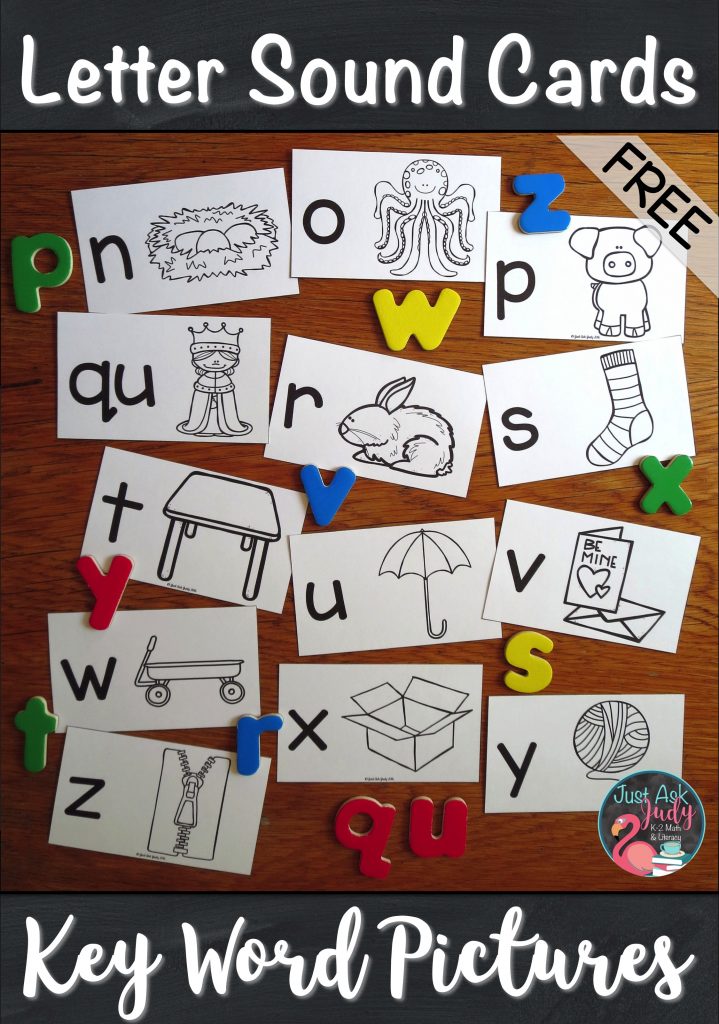
You will need a set of letter/ sound picture cards. Each card should have a letter and a key picture representing the sound the letter stands for. The pictures need to represent single initial consonant sounds, initial short vowel sounds, and final x with the /ks/ sound; in other words no frogs, owls, or xylophones. I am sharing a set of letter/ sound picture cards which you can download for free from my Teachers Pay Teachers store. These cards present lowercase letters only as this is potentially less confusing. Lowercase letters also have a higher utility for reading and spelling than uppercase letters.
Multi-Sensory Introduction of Letters and Sounds
These activities are most appropriate for individuals and small groups but can be adapted for large groups. Keep in mind that a letter’s name is its most stable property. Its form and sound may vary.
Activity 1
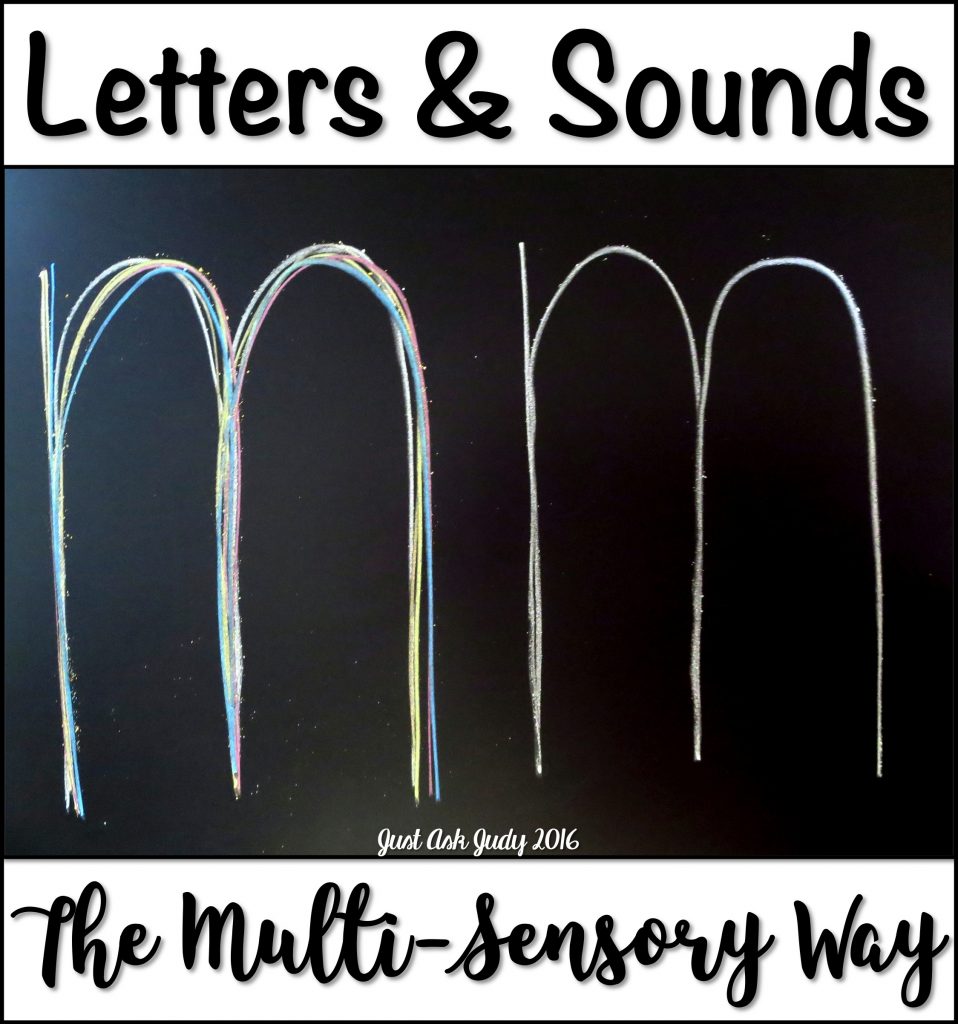
Lastly, have your student write the letter, arm swing size, next to your model. This activity can be adapted for groups by writing the letter multiple times on your board(s). Some students can skywrite while others trace and write on the board.
Be sure to read this post by The Inspired Treehouse, which explains why kids should have opportunities to work on a vertical surface.
Activity 2
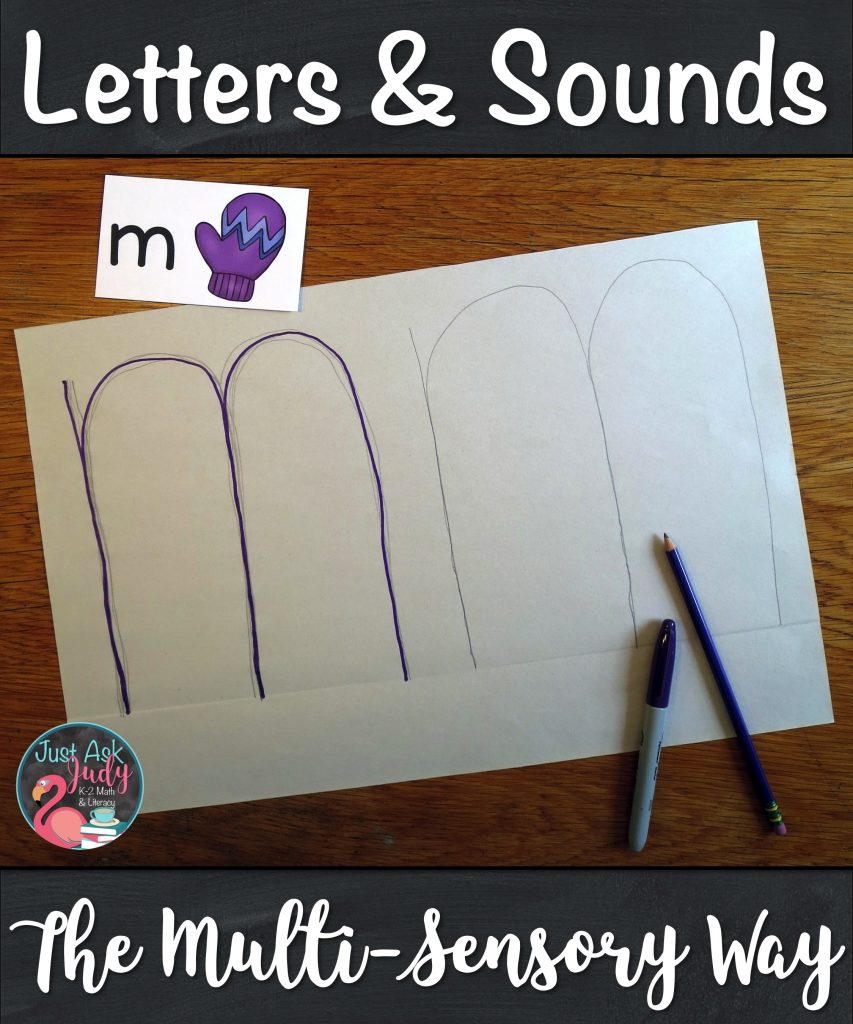
Start by reviewing the recently introduced letter/ sound picture card. Name the letter, the key picture, and the sound the letter represents. Use 12 x 18-inch unlined newsprint in a hot dog/ horizontal position for this activity. Fold a baseline along the bottom. Allow more depth for “tail” letters. Write the letter large with a marker. You might want to use a chisel tip for bolder lines, giving a wider margin of error. Have your student trace the letter while naming it, the keyword, and it’s sound. Repeat this multiple times. Have your student write the letter next to your model (the number of times will depend on space).
Activity 3
Review the recently introduced letter/ sound picture card. Use a chalk liner (or marker liner) to make handwriting lines on the board. I use blue, red, and green lines. You can double the size, at this point, using the top and bottom slots of two chalk liners. I like the sky line, plane line, grass line and worm line terms from the Fundations Teachers Manual Levels K-1, along with their Letter Formation Guide. Click on the highlighted words to download these pictures cues for writing lines that I use on the chalkboard. Write the letter on the lines while verbalizing its formation. Repeat this 3 to 5 times. Your student traces the letter while (you guessed it) naming it, the keyword and the sound. He/ she writes the letter on the line using any remaining space.

I use one activity each day. The amount of repetition needed to learn a letter and its corresponding sound varies from child to child. These activities can be repeated. I also use 9 x 12-inch manila paper with a model letter written with a marker, as large as the paper. Your students can rainbow trace with crayons using the same procedures.
There are many ways to review and practice the links between the letter name, its formation, and the sound it stands for- too many to list here! Be sure to check out my other blog posts for teaching letters and sounds!
Click the highlighted words to download your free copy of the Letter Sound Picture Cards from my TpT store. While you’re there, check out my other resources for teaching letters and sounds!
Photo in title image by Speech-Language Pirates.

Judy I love this!! I am just finding you blog and definitely will be looking around a bit. Thank you!
Hey Judy,
Me too – I love chalkboards for just the reasons you talk about! Thanks for this great post about using multi-sensory approaches for explicit instruction!!! ~Thia
Oh, Judy, how serendipitous that I came across your site today! I face losing my long, green chalkboard to a whiteboard tomorrow. Thanks for your information.